A smooth-shifting drivetrain is the soul of a great cycling adventure. Imagine you are pedaling through the tranquil paths of the Hue Citadel or climbing the lush hills of the countryside, and suddenly, your chain starts skipping or making a rhythmic clicking sound. It’s frustrating, inefficient, and can ruin the flow of your journey.
The culprit is usually the rear derailleur—the mechanical “brain” that moves your chain between gears. While it looks complex, the rear derailleur is a sturdy device that just needs a little fine-tuning occasionally. In this comprehensive guide, Hue Smile Travel will walk you through everything you need to know to achieve that “crisp” shifting feel.
1. Understanding the Anatomy of Your Rear Derailleur

Before we dive into the adjustment, you must understand the components you’ll be interacting with. In the U.S., we call it the derailleur; in other places, it’s known as the “mech.”
- The Jockey Wheels: These are the two small pulleys located in the derailleur cage. The upper one (Guide Pulley) directs the chain to the cogs, while the lower one (Tension Pulley) maintains chain tension.
- Limit Screws (H & L): These are the gatekeepers. The H (High) screw prevents the chain from shifting past the smallest cog into the frame. The L (Low) screw prevents the chain from shifting past the largest cog into your spokes.
- The Barrel Adjuster: This is the most used part for fine-tuning. It’s a plastic or metal dial where the cable enters the derailleur. Turning it increases or decreases cable tension.
- B-Limit Screw: This adjusts the vertical distance between the upper jockey wheel and the cassette cogs.
- The Hanger: A sacrificial piece of metal that connects the derailleur to the frame. It is designed to bend or break to protect your expensive frame during a crash.
2. The Pre-Check: Is Your Hardware Straight?
Before you touch a single screw, you must ensure the derailleur is straight. Modern drivetrains have very narrow gaps (as little as 2.14mm). If your derailleur hanger is even slightly bent, you will never achieve perfect shifting no matter how much you turn the barrel adjuster.
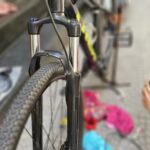
How to check: Stand behind the bike and look at the line from the cogs down to the jockey wheels. They should form a perfectly vertical line. If the cage is tilting toward the spokes or away from the bike, your hanger is likely bent. If this is the case, we recommend visiting our technical shop at 1/6 Tran Quang Khai for a professional alignment tool.
3. Step-by-Step Adjustment Guide
Step 1: Setting the High (H) Limit
The High limit controls the outward travel.
- Shift your chain to the smallest cog (highest gear).
- Loosen the Pinch Bolt to release cable tension completely.
- Look at the alignment of the upper jockey wheel and the smallest cog. They should be perfectly lined up.
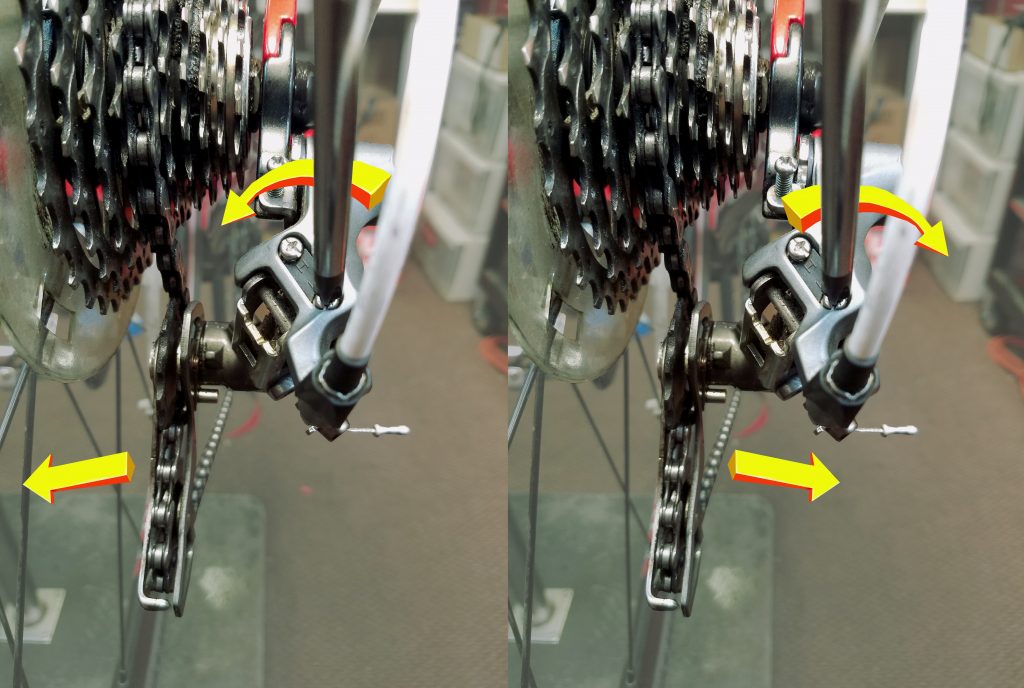
- If the jockey wheel is too far outside, turn the H-screw clockwise. If it’s too far inside, turn it counter-clockwise.
Step 2: Connecting the Cable and Tensioning
- Ensure your shifter (on the handlebar) is clicked all the way to the highest gear position.
- Pull the cable tight with your hand and tighten the Pinch Bolt.
- Cut off any excess cable, leaving about 1 inch, and crimp it to prevent fraying.
 Step 3: Indexing (The Shifting Magic)
This is where we use the Barrel Adjuster.
- While pedaling, shift up one gear.
- If the chain hesitates to move up to the next cog, you need more tension. Turn the barrel adjuster out (counter-clockwise).
- If the chain jumps up two gears or rubs against the third cog, you have too much tension. Turn the barrel adjuster in (clockwise).
- Continue this process through the entire cassette until every shift is instant and quiet.
Step 4: Setting the Low (L) Limit
This is the most critical safety step.
- Shift into the largest cog (the easiest gear).
- Check if the jockey wheel is centered under the large cog.
- Turn the L-screw until it acts as a “stop.” It should allow the chain to reach the gear but stop it from going further into the spokes.
4. Troubleshooting Common Issues
- The “One-Way” Problem: Your bike shifts perfectly going up to larger cogs, but hesitates when shifting down. This is usually caused by friction in the cable housing. Dirt or rust inside the housing prevents the spring from pulling the derailleur back. Solution: Clean or replace the cables.
- Chain Skipping Under Load: If your shifting is perfect on the stand, but the chain “pops” when you stand up to climb a hill, your drivetrain (chain and cassette) is likely worn out. Chains stretch over time, and they eventually stop meshing with the gear teeth.
Conclusion: Why a Professional Tune-up Matters
While adjusting a derailleur is a rewarding DIY task, the complexities of modern 11-speed or 12-speed systems require a precise touch. At Hue Smile Travel, we treat every rental bike like a racing machine. Our technicians ensure that when you head out to explore the beauty of Hue, your only focus is the scenery, not your gears.
Visit us for a professional bike fit and tune-up:
- Address: 1/6 Tran Quang Khai Street, Hue City
- Phone: +84 93 548 44 15